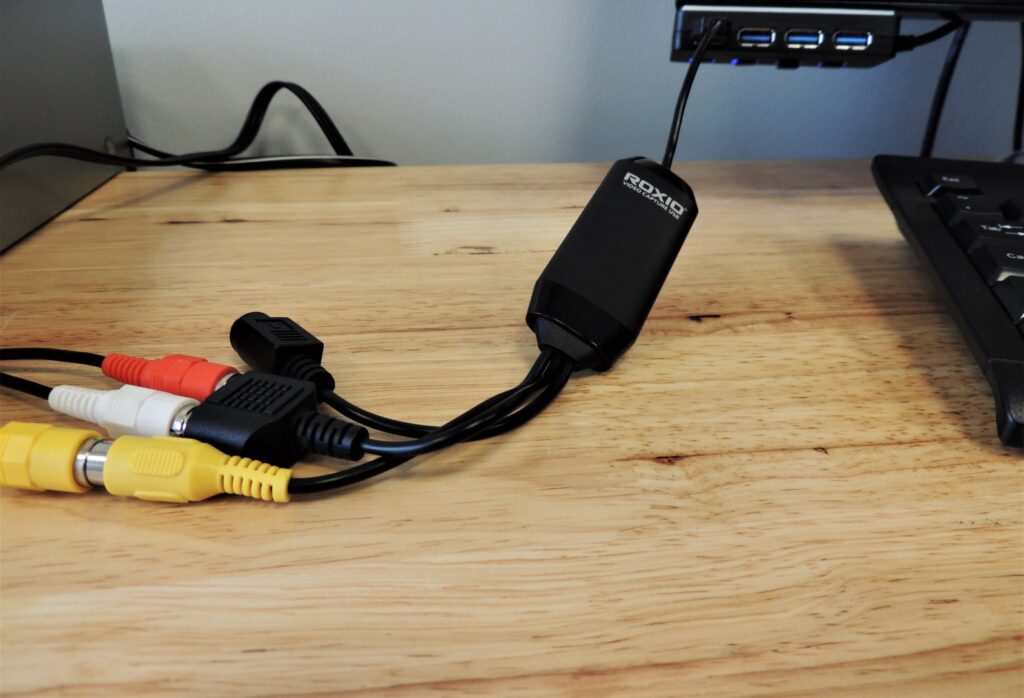
1. Connect the VCR player to the Roxio Video Capture USB, matching the red, white, and yellow output cords with their corresponding color inputs. Next, connect the VCR player to the Roxio Video Capture USB, matching the red, white, and yellow output cords with their corresponding color inputs.
If using a VHS-C tape, use the VHS-C adapter. Slide the OPEN button on the VHS-C adapter, insert your VHS-C tape, and close the lid, pushing down firmly.
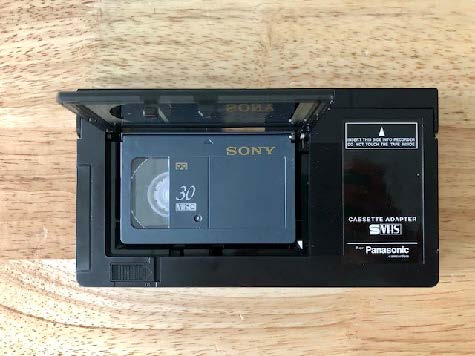
2. Turn on the VCR player and insert the VHS-C adapter. If using a VHS tape, simply insert it into the VCR player.
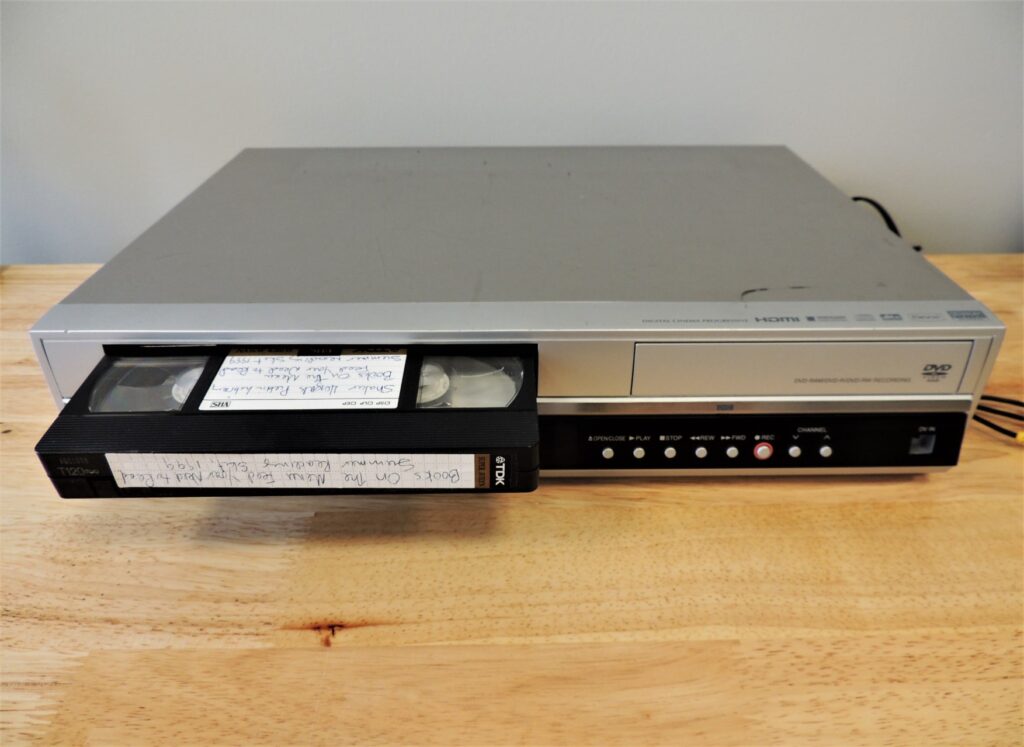
3. Make sure the player is set to VCR by clicking the VCR/DVD button. Your player should look like the photo below:

Rewind your VHS, if necessary, by pressing the REW button.
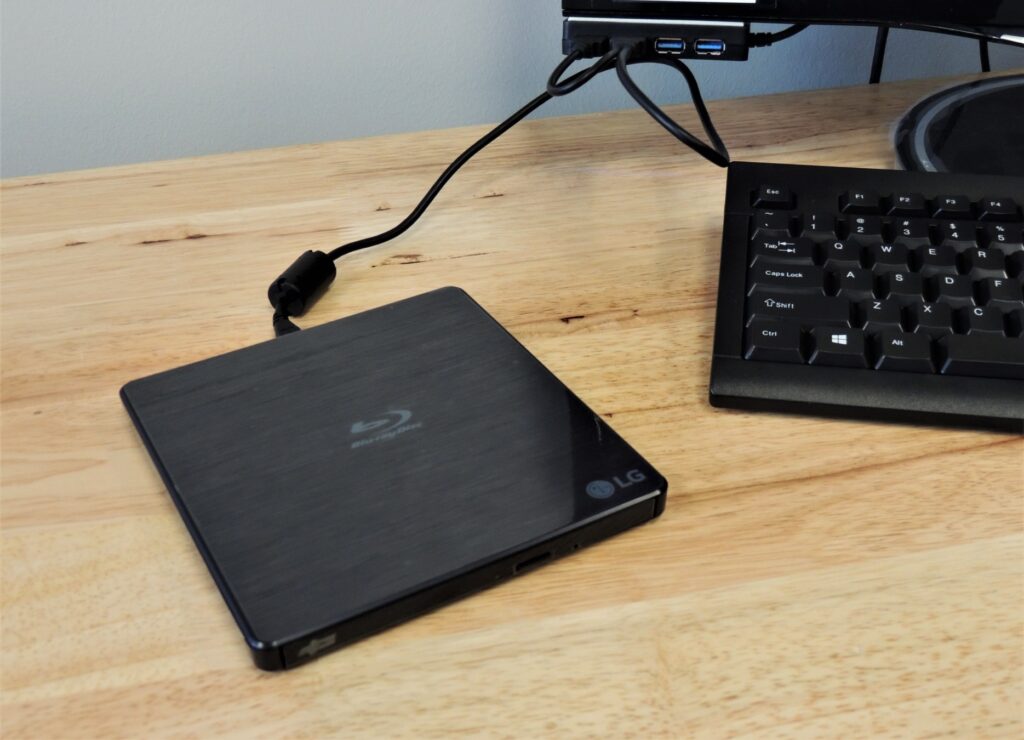
4. If you are burning your VHS to a DVD, connect both USB cords from the Blu-ray Writer to the computer’s USB ports. Insert your blank DVD into the Blu-ray player.
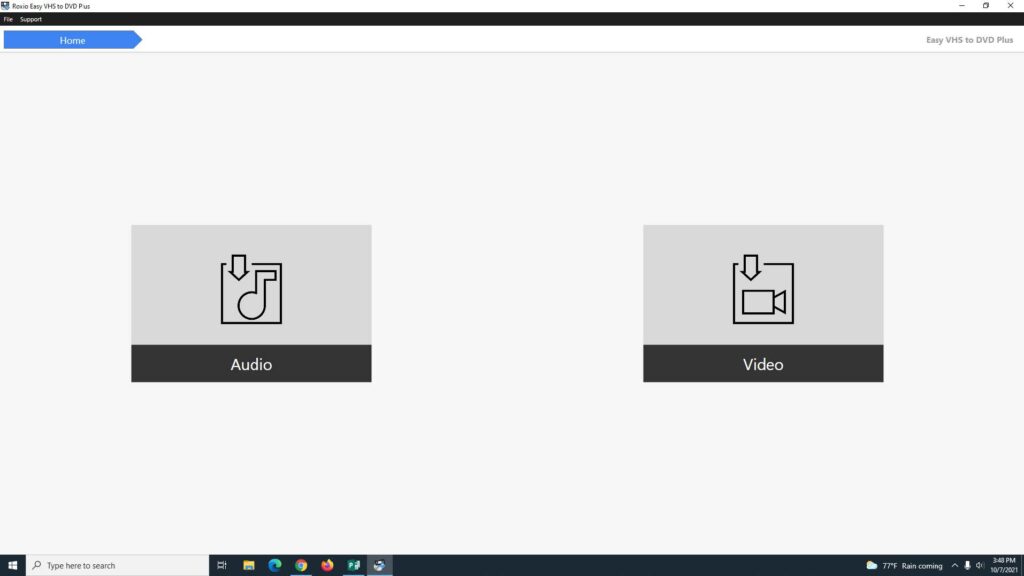
5. Open the Roxio Easy VHS to DVD Plus software. Select Video from the home screen.
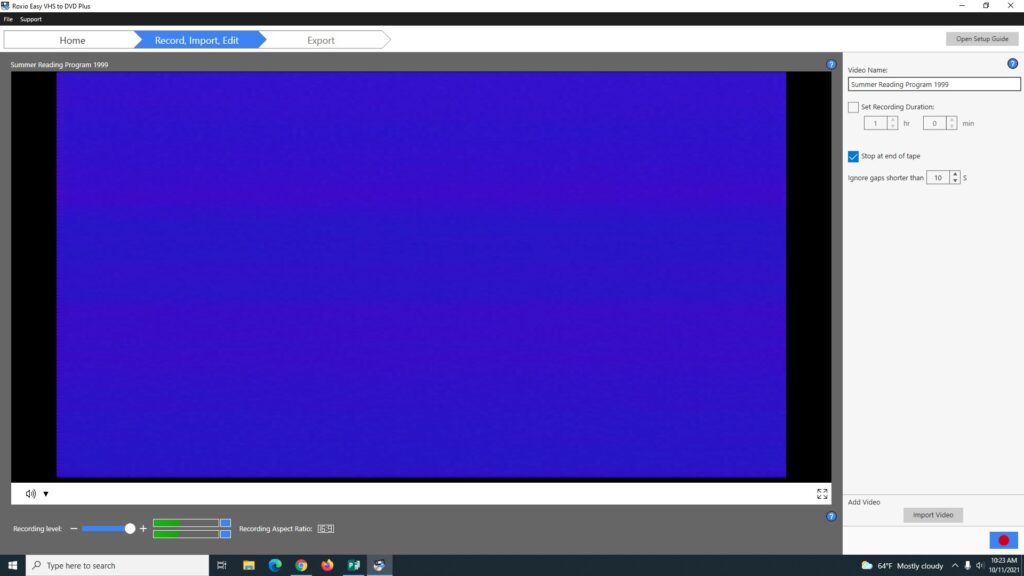
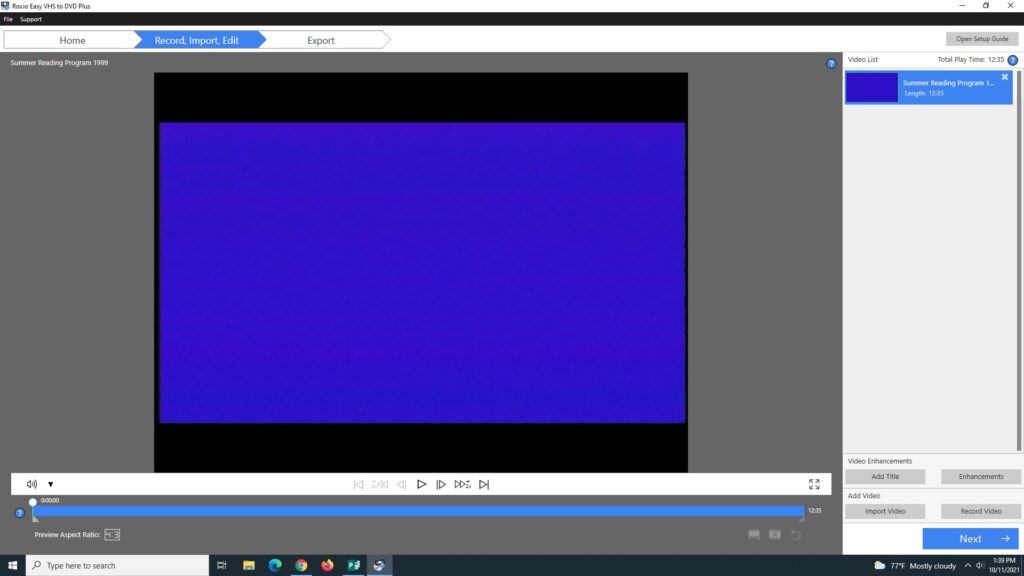
6. You will see a blue screen before playing your VHS. Enter your Video Name and select and set the box for Set Recording Duration to the run time of your VHS. To start recording, press the record button in Roxio and press PLAY on the VCR.
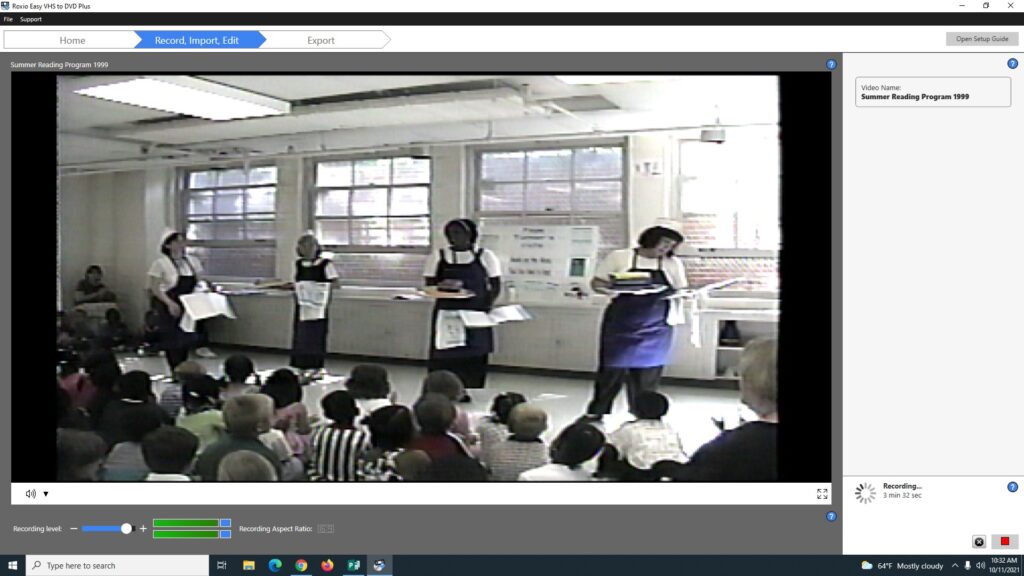
7. While recording, you can watch your VHS in Roxio. Your recording progress is displayed in the bottom right corner.
To stop recording, click the stop button in Roxio. To cancel the recording and delete the captured video, click the cancel button.
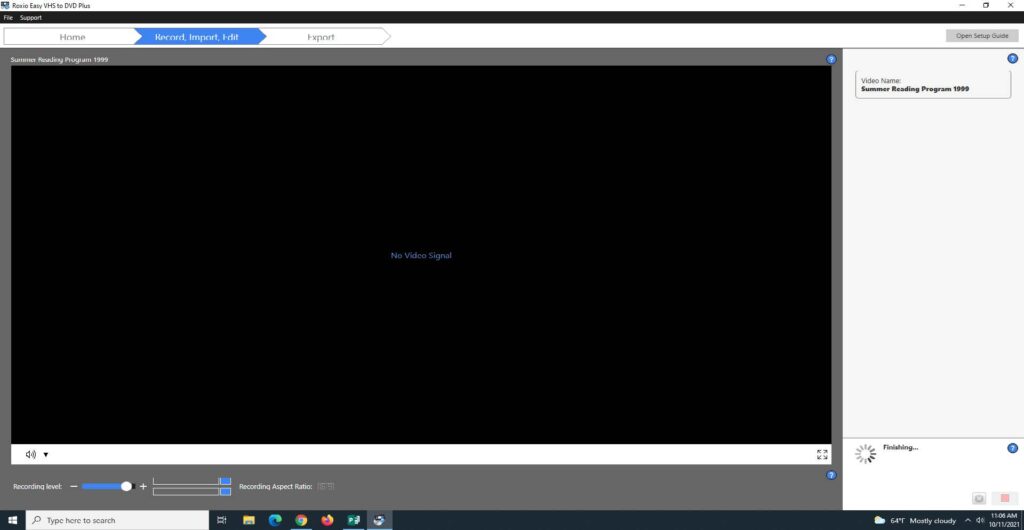
8. When your video is finished, the screen will darken and No Video Signal will appear. In the bottom corner, a Finishing… progress spinner will appear. This takes a few minutes to complete.
9. After your recording automatically stops or if you manually press Stop, you will see a blue screen. You can watch your video using the play, pause, rewind, and fast forward buttons in Roxio.
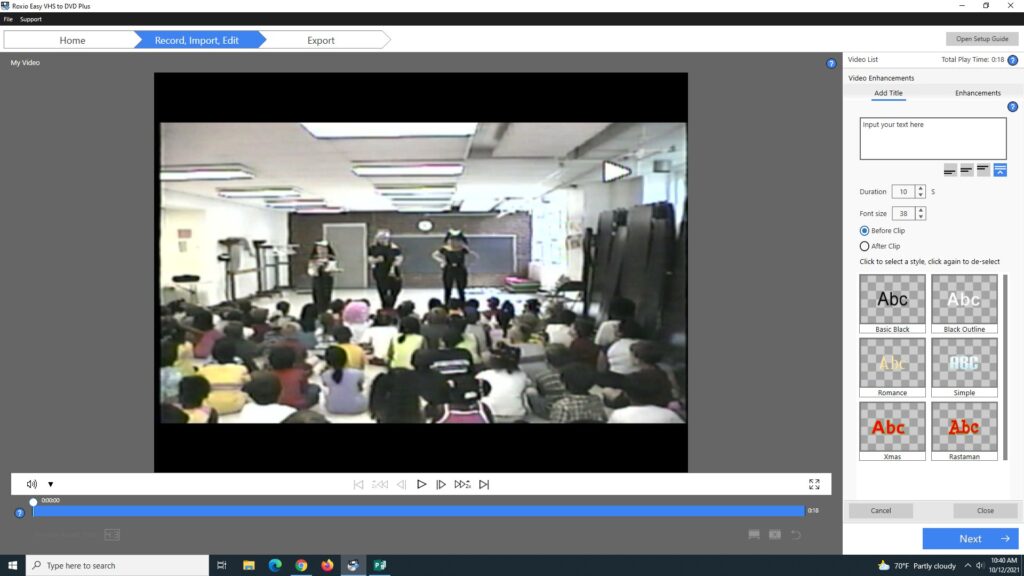
10. You can add Video Enhancements like text, noise reduction, stabilization, and color correction using the panel on the right hand side. You can also add or record additional videos.
To add a title, type your text in the box. Then, you can change the duration, font size, or text style. When you’re finished, click Close.
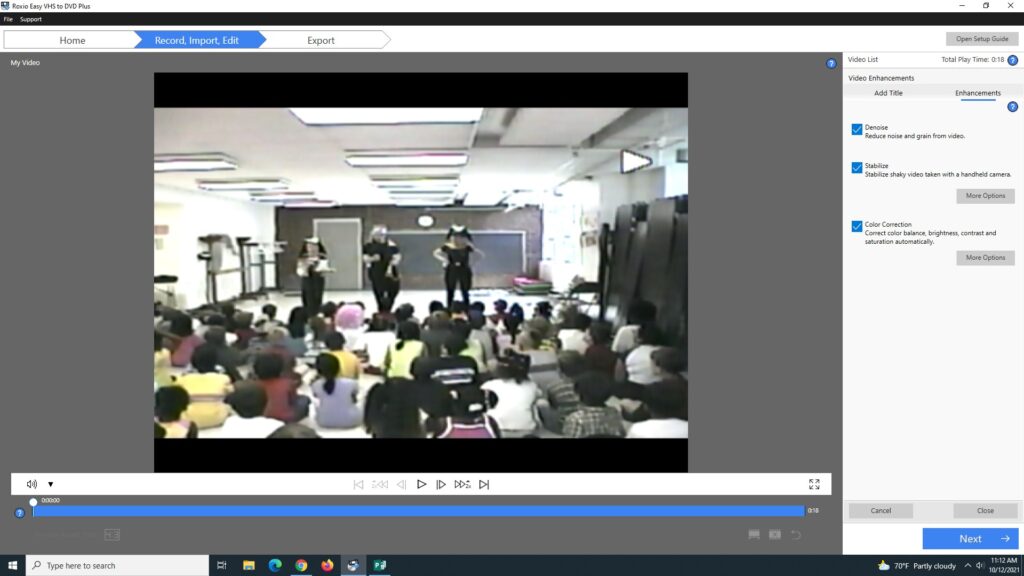
To add enhancements, click on the Enhancements box. Then, you can check boxes to apply Denoise, Stabilize, and Color Correction. You can click Options for additional options. When finished, select Next.
Note: Adding these features will increase video download time.
11. You can now export your video to the format of your choice.
- To upload your video to a USB Drive or cloud-based storage platform, click on the File icon in the gray bar
- To burn your video to a DVD, click on the DVD icon
- To create a customized DVD with themed menus, chapters, and music, click on the MyDVD icon
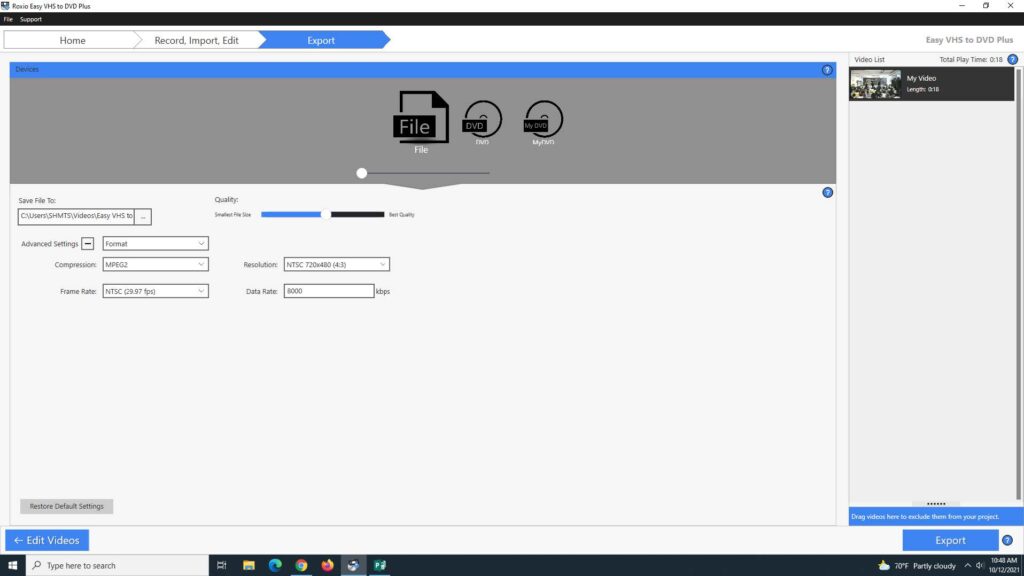
Note: download speeds are determined by video length, enhancement features added, and the platform exported to
For the fastest exporting speeds, upload your video to a cloud-based storage platform.
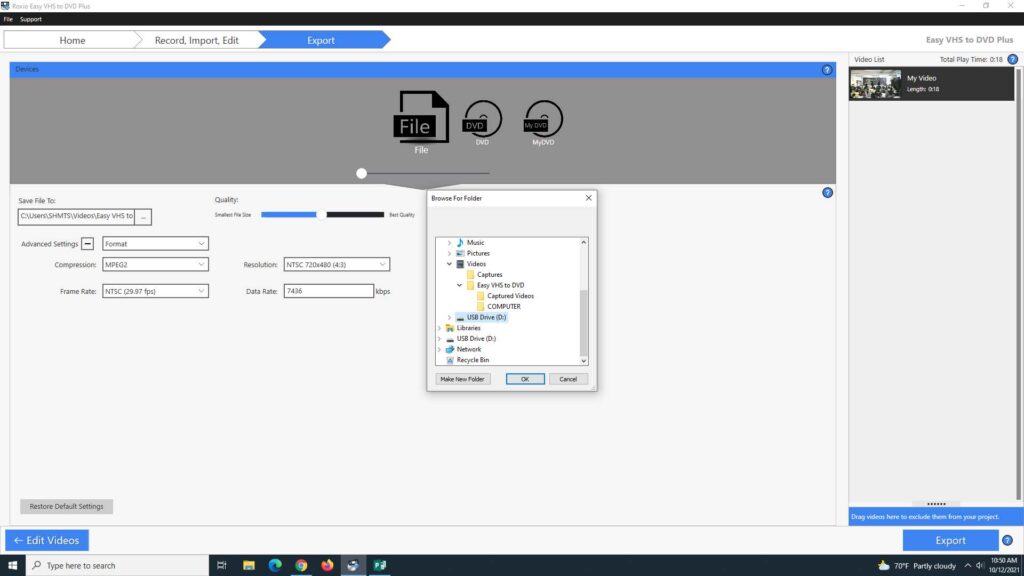
12. To save your video to a flash drive, click on File. Next, in the Save File To drop-down menu, click the three dots to browse for a location and select your flash drive from the drop-down menu. Then, select OK and Export.
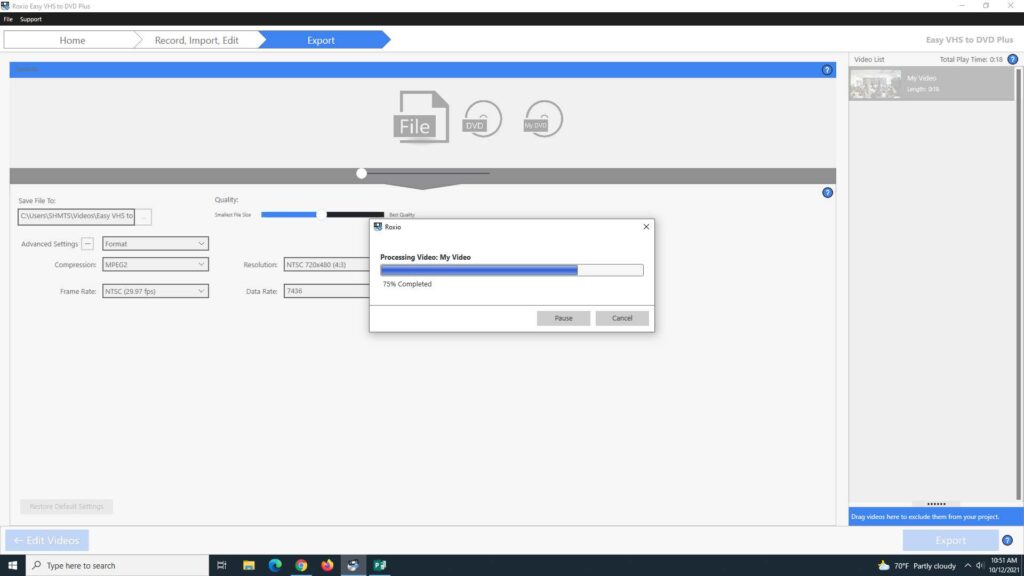
You’ll see a dialog box confirming your video is exporting. You will be notified when the upload is complete. When finished, click Done and eject your flash drive.
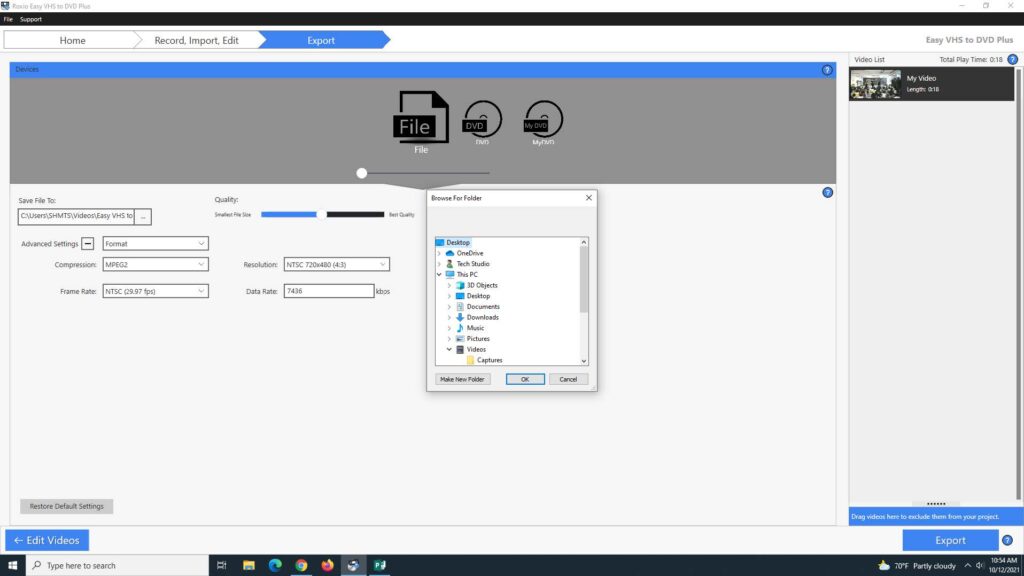
13. To save your video to a cloud-based platform, click on File. Next, in the Save To dropdown menu, choose desktop. Then, click OK and Export.
Next, a dialog box will appear confirming your file is exporting to the desktop. You will be notified when the export is complete. When finished, click Done.
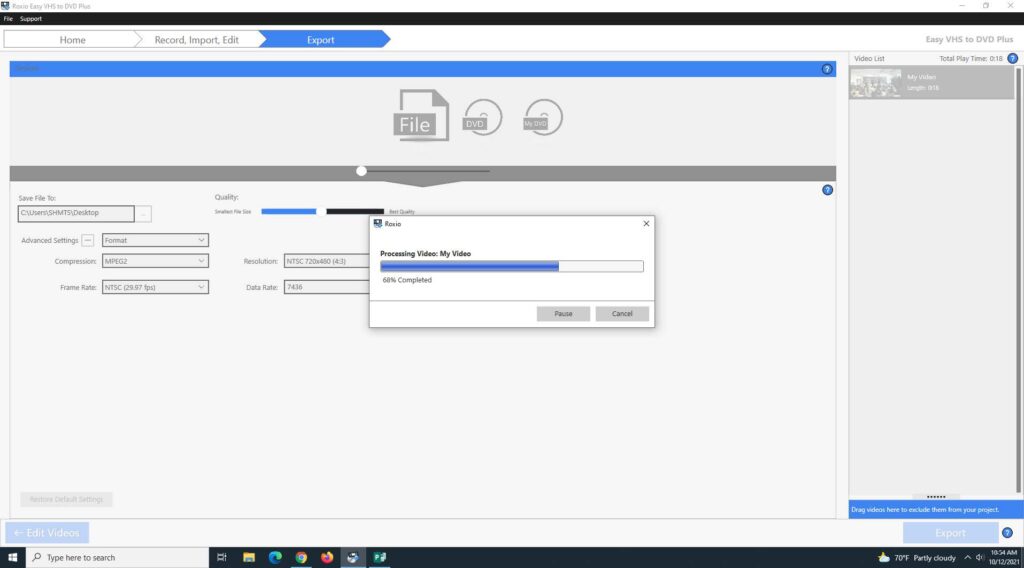
Your file is now saved to the computer’s desktop and you can upload it to the cloud-based storage platform of your choice.
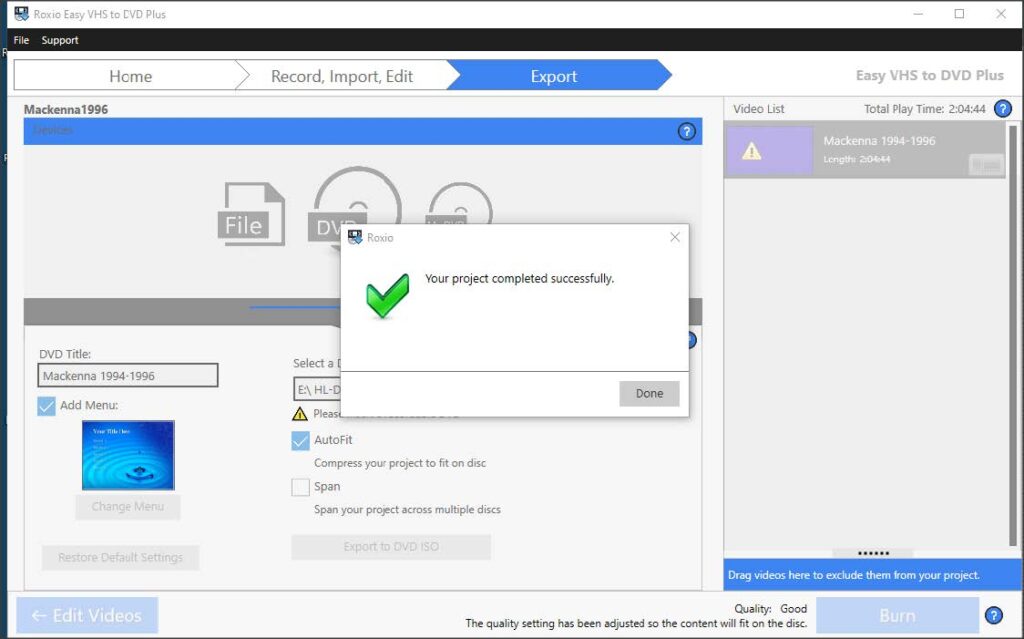
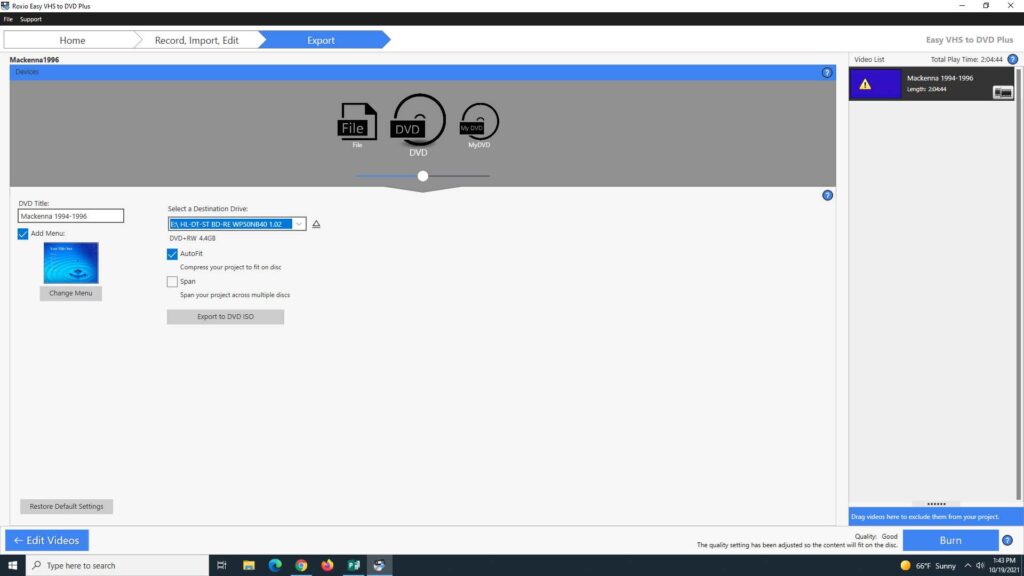
14. To burn your video to a DVD, select the DVD icon from the gray menu. Next, Select a Destination Drive and choose the external Blu-ray writer. Check the box for Add Menu if you’d like to add a menu to your DVD. Then, click Burn.
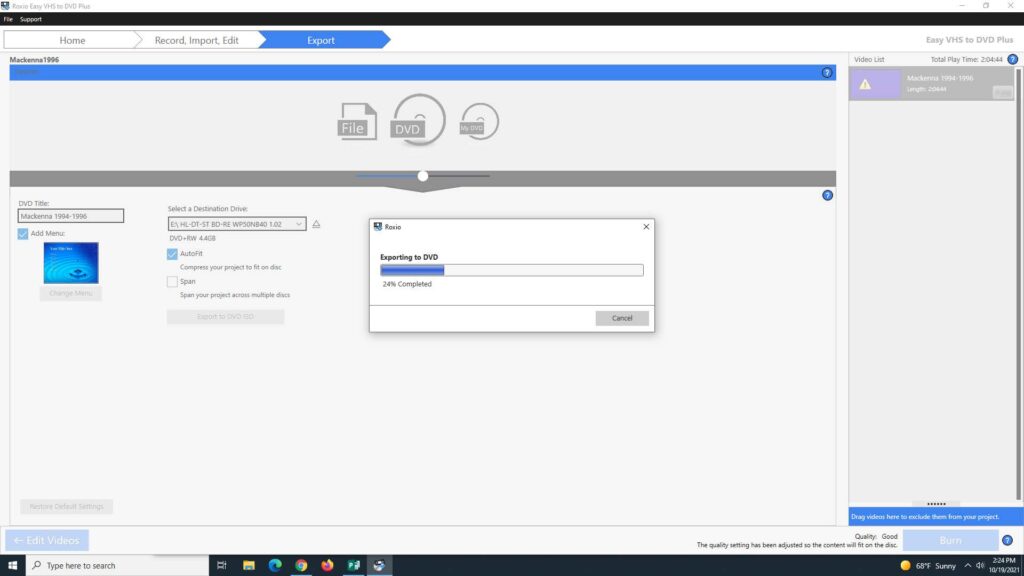
As your DVD burns, an Exporting dialogue box will appear The downloading speed will depend on the length of your video and any added enhancements or effects.
When the burn is almost complete, a Finalizing dialogue box will appear.
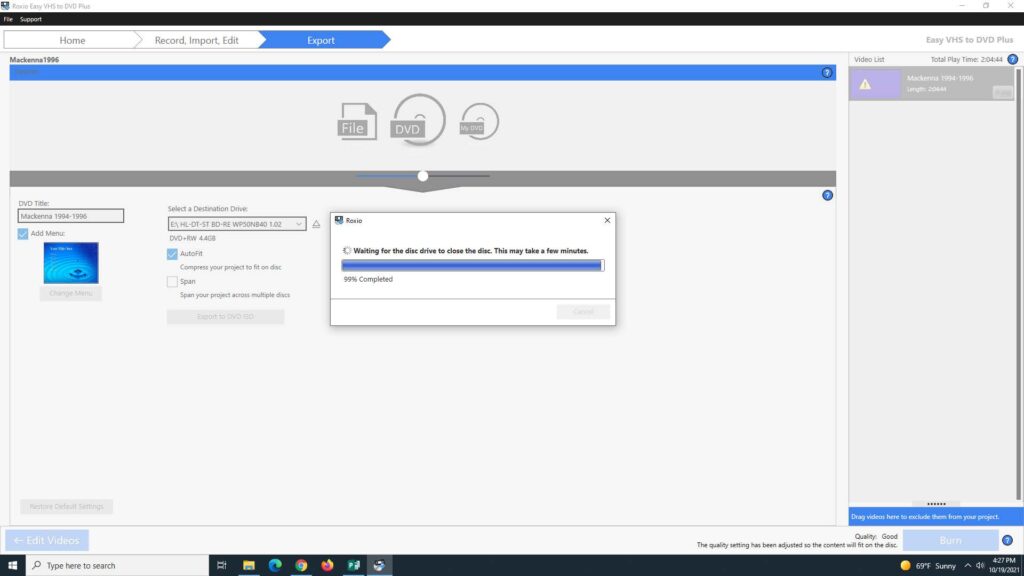
Once your DVD is finished burning, a successful completion dialogue box will appear. You can remove your DVD from the Blu-ray player and you are finished.